
A Precious Artifact
I first read Who’s The Beatdown over a decade ago. Even then, when I read it, it was over a decade old. Despite being written over 25 years ago, it’s still pointed to as the article to read for aspiring competitive Magic players.
Who’s the Beatdown was written in 1999 by Mike Flores. If you’d like to read it yourself, I wouldn’t discourage you (it’s a great read), but it isn’t necessary right now, as I will be summarizing the article and applying it to Flesh and Blood.
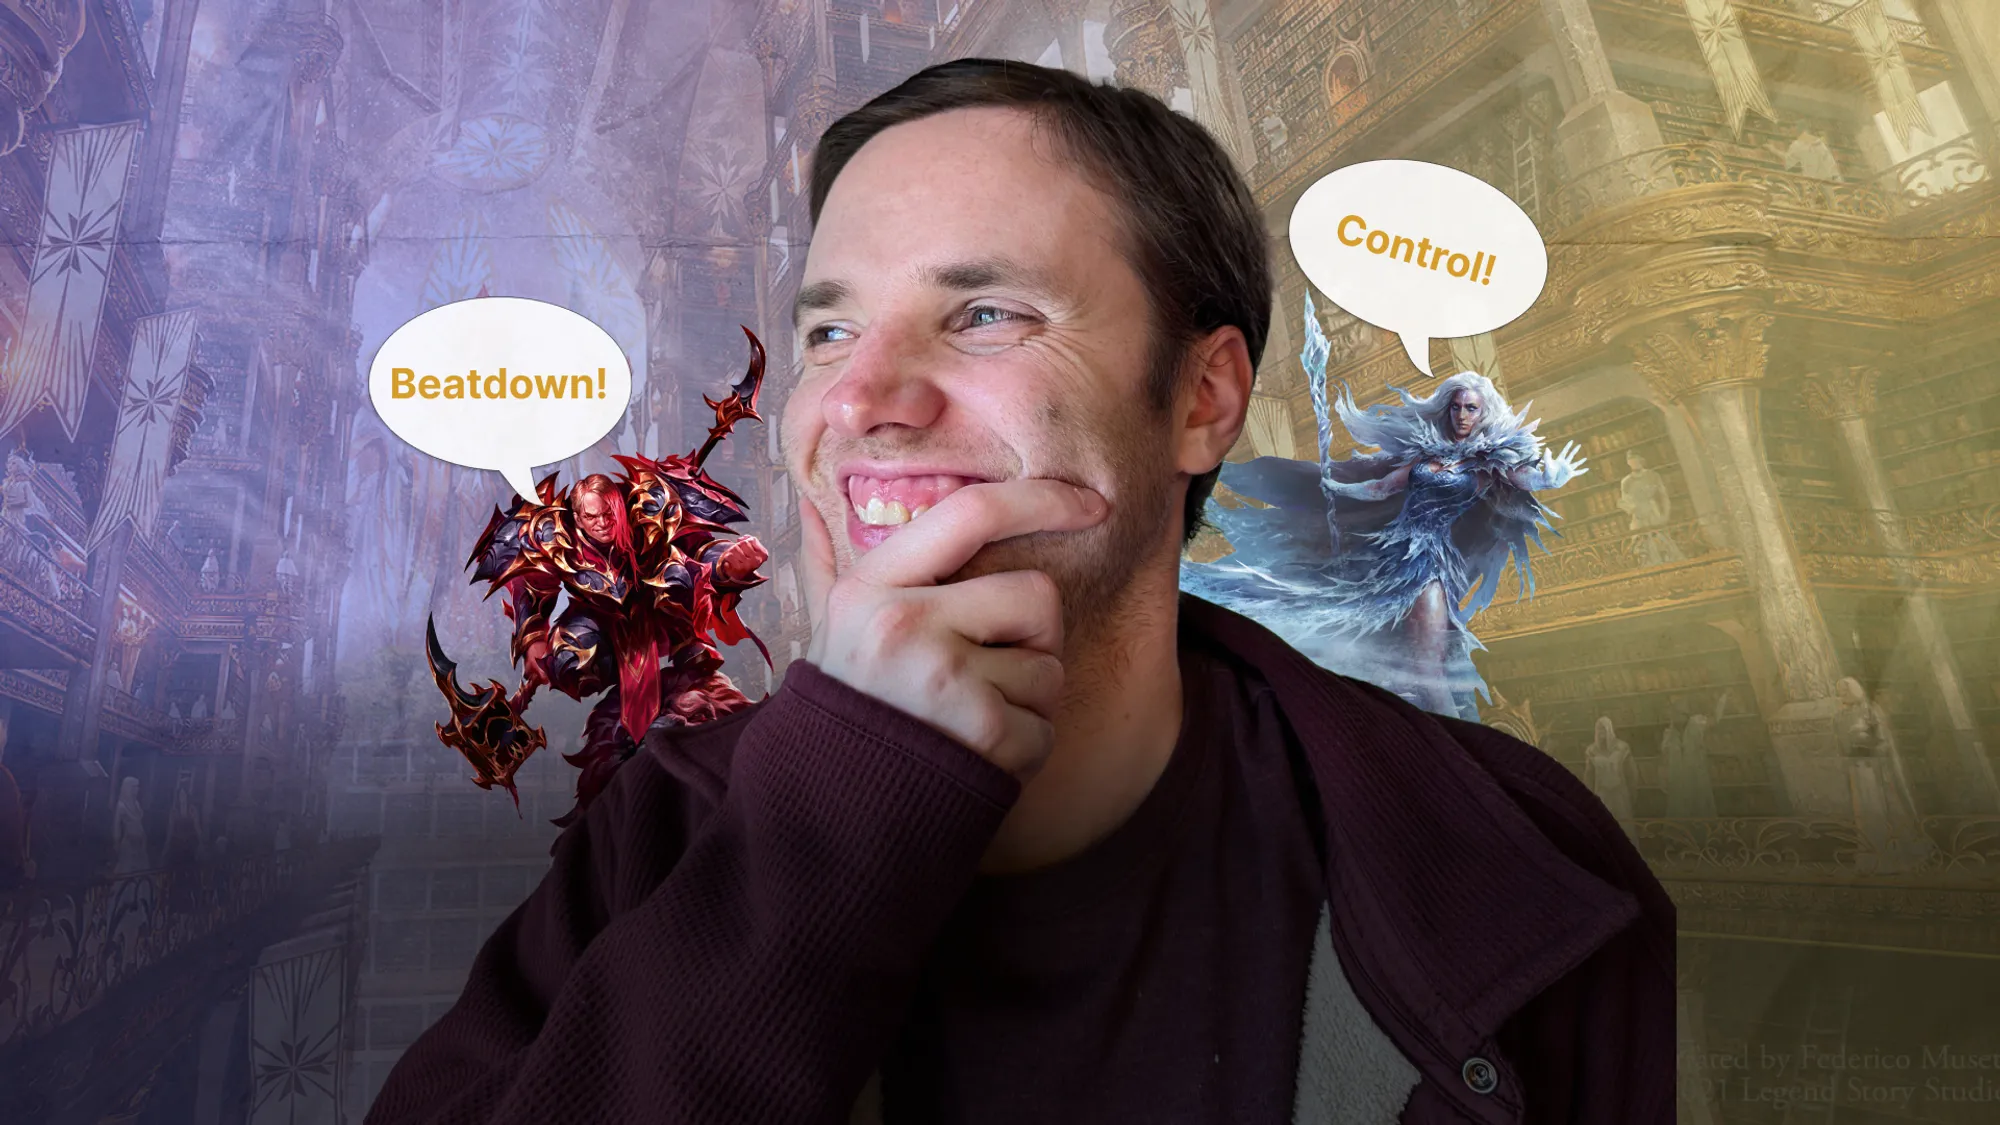
In Who’s the Beatdown, Mike explains one of his Magic theories. He says in every game that isn’t a true mirror, one deck has to play the role of ‘the beatdown.’ Their goal is to kill the opponent quickly and efficiently. The other deck takes on the role of the ‘control’ deck. Their goal is to stop the beatdown player from defeating them by removing their threats and eventually take over the game through powerful late game plays. Mike gives several (Magic specific) examples of games that are lost by players not correctly assigning these roles, and has a very memorable line near the end:
“Misassignment of Role = Game Loss. “
Magic has some key aspects that don’t carry over to Flesh and Blood. The game is played over turns that vary significantly in power. First, you are building up your resource base by playing lands and summoning creatures. It’s common for a player to build up an advantage in the early game by leveraging powerful (but cheap) plays while the other player has stronger (more expensive) cards in their deck that they need to survive an early onslaught to be able to play. While FaB does have some heroes that build up a boardstate, that is less fundamental to how the game is played.
An additional difference is the amount of cards drawn every turn. In Magic, you only draw one card each turn, and your hand texture rarely changes significantly between turns. In FaB, each turn you draw a completely new hand and need to decide how to apply it to your gameplan and strategy. While there are definitely parts of Mike’s article that carry over to FaB, some of the key aspects of beatdown and control shift substantially.
How to Role-Play
In Magic, the Beatdown role is given to the player who is focused on reducing the opponent’s life total to 0 as quickly as possible. It is the deck that is in trouble if the game goes long and it doesn’t present something meaningful enough to overcome what the control deck is doing.
On the other hand, the Control role is given to the player that will win the game if the beatdown doesn’t overcome what they are doing. In Magic, this is usually the player who is destroying the opponent’s creatures and trading its own creatures off. But trying to stop the opponent’s creatures from killing you isn’t necessarily what makes a control deck. Rather, it is the deck that knows if they do this for long enough, they are likely to win the game later with their more powerful cards or combos.
Flesh and Blood is a bit different. Unlike in magic, control decks in FaB don’t lock their opponent out of the game through an overwhelming board presence or card advantage. In FaB, the control player can be the one who is trying to block until the beatdown player has expended all their key threats and falls to fatigue. This isn’t always the case, though. The control player is happy if the game goes longer because they have inevitability that’s difficult to interact with. It can be the Kassai player who is out-valuing the Cindra deck turn after turn by generating Gold and Copper on-hits and blocking efficiently to mitigate Mask of Momentum. It can be the “Counter-Burn” style Oscilio deck trying to outlast Dawnblade Dorinthea by slowly chipping in with small amounts of unpreventable arcane damage while simultaneously stopping her from establishing +1 counters on her sword.
There are three main reasons a player takes on the control role in a matchup:
1. They expect to fully run the opponent out of cards and threats in deck.
2. They can get more recursive value turn over turn against their opponent. This can be due to hero abilities or equipment that generate value over time or because they built up a board state that makes their turns more efficient – think Gravy Bones with several allies in play or Fang with three or more Fealty tokens.
3. They are setting up a combo play that will largely invalidate the rest of the value accrued over the game as long as they can survive to perform it. This is commonly done by pitching powerful cards together and playing out potions or other permanents to enable the combo.
Instead of looking at ‘the beatdown’ as the deck that is needing to kill the opponent quickly, look at it as the deck that needs to make something happen. The beatdown is the player that will likely lose a longer game and needs to prevent the control deck from enacting its consistent, inevitable gameplan. Because of this definition, the beatdown is not always the player that wants to block less and attack more often. Although this is sometimes the case, the key factor is that the beatdown would prefer the game to end sooner.
The reasons a player would take on the beatdown role in a matchup are therefore:
1. They are liable to get fatigued if they block too much or don’t convert large five-card hands.
2. They have strong but limited use equipment in play. These cards are often worth a large chunk of value the turn they are used, but are gone afterwards – think Beaten Trackers or Mask of the Pouncing Lynx.
3. Their opponent is setting up something that is difficult to interact with. Often the best answer is just to kill them before it is relevant.
Learning FaB Roles
1. Start Simple
Let's start with a simple matchup. Fang vs Fai. Fang naturally wants to play the control role in most matchups. He wants to gain three Fealty tokens so that he can attack for free with his Obsidian Fire Veins every turn. He also generates additional value turn after turn by blocking with Valiant Dynamo and removing the -1 defense counter after attacking with both daggers. Fang can generate exceptional value per hand once he is online, and also has damage that is tough to block due to his variety of attack reactions.
Fai, on the other hand, is fairly flexible between playing as the beatdown or control. He isn’t very vulnerable to fatigue and can set up large turns with Art of the Phoenix: War as well as Mask of the Pouncing Lynx. He can leverage his hero ability and Tiger Stripe Shuko to generate extra value turn over turn as well. Against Fang, though, he is forced to take on the beatdown role. If the game goes long, he will be out-valued by Fang’s extremely efficient weapons and his Valiant Dynamo. The way Fai wins this matchup is by pushing through an overwhelming amount of damage while Fang is still getting set up.
If Fai tries to play a more controlling role in this matchup, Fang will generate more value in the long game. It is important that the Fai does not sideboard in any defense reactions in this matchup. The most important thing is presenting as much damage as quickly as possible to kill the Fang.
It’s not always intuitive who is the beatdown in any given matchup, and it can even shift throughout the course of a game. Regardless, it is important to understand this dynamic so you avoid making fundamental errors in the way you approach a matchup, before you even start playing it.
2. Upon Reflection…
While testing for Pro Tour: Las Vegas, I was watching some teammates test the Jarl vs Cindra matchup. Who do you think is the beatdown here? Is it Cindra who is trying to play five-card hands that leak a lot of damage and threaten Mask of Momentum over and over? Or is it the Jarl deck with tons of powerful blocking equipment like Stalagmite, Bastion of Isenloft and Barkskin of the Millenium Tree?
My teammates played this matchup as if Jarl was the control deck. Cindra is an aggressive deck that wants to play high-powered five-card hands over and over. That feels like it means she should be the beatdown deck. However, I would argue that this isn’t the most important factor in determining who is the beatdown and who is the control player. Unless the Jarl deck is built to fully fatigue Cindra out of threats, Jarl should be the beatdown in this matchup. If the game goes for a long time, Cindra will keep playing four and five card hands while Jarl blocks as much as possible to mitigate damage. In this scenario, the Cindra player will eventually tear through Jarl's strong suite of armor. All of Jarl’s armor has limited uses before it is gone. Cindra will keep threatening damage and generating value from her Flick Knives, Mask of Momentum, and Fyendal’s Spring Tunic. Similar to my earlier example of Oscilio vs Dorinthea, Cindra will keep chipping unavoidable damage in. Once she gets through Jarl’s armor, she will start to put him in spots where he has to play extremely inefficiently or give up Mask of Momentum draws.
In testing, our Cindra players were having extremely impressive win rates into Jarls. I saw several reports where the Cindra was winning more than half the games. The Jarl players were playing cards like Coronet Peak to ensure Cindra couldn’t play five card hands into them. When you think about it with our above criteria, you can see where the problem lies. By not killing Cindra, the Jarl pilots were giving her time to generate more value each turn than they were and Cindra would eventually pull out ahead and win the game. This is simply a matchup that our Jarl deck wasn’t equipped to ‘control’.
Let’s look at Stalagmite specifically. This is a very powerful piece of equipment. It blocks 2 and has Temper. When it blocks this gives the opponent a Frostbite. In a short game, this often blocks for 3 life and also generates two Frostbites that are each worth up to a full card. If the game lasts for six turns, then two cards is 2/24 of the total cards that Cindra will get access to over the course of the game. If, on the other hand, the game lasts for fifteen turns, then Stalagmite is only trading for 2/60 of the cards that Cindra gets access to over the course of the game.
Now, let me turn your attention to Flick Knives for comparison. This is an equipment that generates roughly 1 value each turn. This means in a six turn game, it will convert for roughly 6 points of value. 6 is a solid chunk of a player’s total life, but isn’t out of line when compared to other powerful equipment in the game. On the other hand, if the game lasts for fifteen turns, and Flick Knives converts for 1 value each turn, that means it’s generating 15 points of value over the course of the game. This is a substantial difference compared to how much value it generates in a six turn game.
You can run this comparison on each piece of equipment. Most of the equipment Jarl presents into Cindra are similar to Stalagmite in that they generate a flat amount of value, regardless of how long the game goes. Cindra’s equipment is different. Mask of Momentum generates more value every time it draws a card or even just forces an awkward block. Fyendal’s Spring Tunic generates an additional resource every three turns where Barkskin will only block for so much. The only equipment she typically presents that doesn’t generate additional value turn after turn into Jarl is Dragonscaler Flight Path.
With all these things in mind, our Jarl deck should be attempting to kill the Cindra as quickly as possible. At the end of testing, the Jarl deck was cutting some of its weakest defensive tools – like Fiddler's Green – in order to play more proactive threats. Cindra, on the other hand, was embracing the control role and was even boarding in a few defense reactions to try to counteract this and draw the game out longer.
Equipment isn’t the only consideration when figuring out who should be the beatdown in the matchup, but it is a major factor. I mentioned our Jarl decks were not built to be able to fatigue Cindra. If you build a Jarl deck with that as the intention, it is possible you can take on the control role in the matchup.
3. Two Can Play That Game
One thing unique about FaB compared to Magic is that there are many matchups where both players attempt to take on the role of the beatdown or both players attempt to take on the control role and neither player is making a mistake. Even in matchups that are not a true mirror (Mario v Mario versus Mario v Huntsman), often it is correct for both decks to take on the same role. For example, if your opponent is playing a beatdown deck and attempting to reduce your life total to 0, your best way to counteract that is often to beat them down faster. After all, the best way to get a deck to stop attacking you is often to force them to block. On-hit effects are a great way to do this, but making your opponent block or die is perhaps the best way.
Alternatively, if two players are playing defensive Guardian decks, both players are often under threat of fatigue. In the Jarl mirror, for example, players will usually present Fyendal’s Spring Tunic and Sledge of Anvilheim in an attempt to grind the other player out of cards in deck. This isn’t something that needs to change based on who is going first or second. Both players can take on the control role. The winner of the game is often decided by who fulfills the role better throughout the game, and is aware if there are moments where they should pivot to a beatdown role.
If at any point it becomes clear that you are behind on one axis, often you need to alter your plan. If life totals are even, but your opponent has 6 more cards in their deck, you likely need to shift to a beatdown role. If the game’s status quo means you will lose, you can’t continue to take on the control role. You need to take a risk and shift to be the beatdown. This means you need to find spots to try to make the game about life total, tempo, or something other than fatigue, because if the game continues in the same way, you’ve already lost.
Similarly, in an aggressive mirror, both decks often try to take the role of the beatdown by just attempting to end the game before the opponent can do the same. Again, due to the nature of Flesh and Blood, it is commonly the correct way to play these matchups. However, there may be points in the game where it is clear the race isn’t going well for you. They’ve drawn and resolved several of their more powerful cards and are pulling solidly ahead. In spots like this, it can be the case that the opponent has succeeded in their mission to be the beatdown. Once again, this is a situation where adaptation is necessary. Instead of staying in a race that you’re clearly losing, pivot to blocking until you find your most powerful turns. Preserve some life so that when you draw the hand that could turn the game around, you have the life buffer to keep it.
4. Caught Somewhere in Between
Many heroes have to toe the line between beatdown and control. Heroes that prefer the game to go long and play smaller hands with their opponents tend to want to be a control deck and block fairly often to draw out the game. However, these decks can also be vulnerable to fatigue or struggle if their opponent switches to a more controlling role in the middle of the game. An example of this is Gravy Bones. He typically wants to extend the game to maximize the value of his allies. He generates a lot of value over the course of the game because his allies are difficult to clear efficiently, and they also have pretty crazy rates if you play them from the graveyard with Go Again from his compass. Finally, similar to Cindra’s equipment, his Gold-Baited Hook and Dead Threads generate extra value each turn the game lasts.
Gravy Bones has a problem, though. He has a very limited number of cards in his deck that are capable of dealing damage. If you survive the onslaught of allies and are diligent in removing them from the board, he can reach a fatigue state. So, while he would prefer to play the control role – drawing out the game and playing powerful 1 to 2 card turns that end in an ally attack – he doesn’t always have that luxury in every matchup. Getting fatigued is a very real threat and often warps the way Gravy has to play the game.
And yet, sometimes the game looks like fatigue could matter, but then the opponent ignores an ally in favor of pushing more damage towards Gravy Bones. In these games, even if Gravy was the beatdown before due to the threat of fatigue, he has to re-evaluate. If Gravy doesn’t block, or doesn't block enough, it’s possible that he just loses the game to damage. If he blocks with too many cards, sometimes the opponent will just use the space he’s given them to clear the ally more efficiently the following turn and leverage their threat of fatigue again.
This balancing act between the beatdown and the control roles in FaB is a very interesting dance. I haven’t experienced anything like it in any other game. It is a lot deeper and more nuanced than it was in Magic when Mike Flores wrote his original article.
5. You Can’t Always Get What You Want
One last example I will give is a hero my good friend and teammate Brodie Spurlock is very fond of: Vynnset, Iron Maiden. She would love nothing more than to play the control role in every matchup. Her hero ability banishes exactly one card from hand each turn, which allows her to play crazy one or two card hands that are significantly above rate. However, adding additional cards to her hand often doesn’t allow her to keep converting them at a similar rate. Generally Vynnset’s one and two card hands are extremely efficient, but often she wants to block with redundant Rune Gate attacks because it is much harder to convert any of them outside of the one she gets to banish for free with her hero ability.
For this reason, Vynnset has typically been quite good against decks that are forced to take on a beatdown role against her. When she is able to block as much as she would like and convert the extra Rune Gates defensively, she is exceptionally powerful. This is before even mentioning her strong disruptive tools like Succumb to Temptation and Cull. However, when decks slow down more and are able to block her out and efficiently use blues to stop her Runechant chip damage, she can really struggle.
When Vynnset is forced to take on a beatdown role, her turns start to look more reasonable. She can find it hard to convert hands that draw too many Rune Gate cards. For this reason, most decks with a high blue count that block well should typically try to take on a control role into Vynnset. Force her to do inefficient things with her four and five card hands. More decks are capable of completely running Vynnset out of threats than you may expect. So if you can, try to take on the control role against her.
However, don’t get too focused on one strategy. Remember, who is the beatdown and who is the control is quite flexible in Flesh and Blood. Vynnset is very capable of overcoming fatigue. Usually this involves building up multiple attacks in banish in order to have a large turn where she sends several Rune Gate attacks in the same turn. In order to do this, she will often take significant damage from Blood Debt. Take on the control role, but always be on the lookout for a moment where you can pivot back to being the beatdown. Often if the Vynnset is paying life to build up a strong banish zone, you can punish her by making a pivot on the back of a disruptive on-hit or immense damage.
6. Overcommitment and YOU
Balancing between the control and beatdown roles can be a very tight line to walk. In some matchups, it is quite simple. And some decks are even built with the intention of taking on the control role in every matchup. If you look at Jon Magnuson’s Betsy deck from the previous pro tour, it has 14 defense reactions, 3 Fiddler's Green, 3 Sigil of Solace, and 72 cards it can reasonably present into fatigue-oriented matchups. It wants to be the control deck in every instance. It almost always can be.
The benefit of building your deck like this is you can often force decks that want to be the control deck to take on the opposite role. The downside of this strategy is that you are often giving up your ability to be flexible. There have been a few examples in FaB history of these very fatigue-oriented Guardians that crumble when they run into something that ‘controls’ better than they do. A recent example was round 15 of Pro Tour: Yokohama this year.
Damien Riggins had a bulwark of a Victor Goldmane deck. He was playing against Chanon Puttaree’s Teklovossen deck. You can find the recording here.
Damien’s deck was built with only one axis of attack. He was only built to fatigue people. His deck couldn’t be the beatdown. So when he faced a matchup where he needed to be the beatdown, his only option was to hope his control gameplan was enough.
It wasn’t.
Another Tool in Your Kit
Flesh and Blood is a game where every decision matters. How you construct your deck and the role you take on in each game are just some of those important decisions. Beatdown versus control is an important axis in the incredibly deep and complex game we’ve come to love. Understanding which role you should take in each game, and when you should change your role is something that isn’t easy even for the best players in Flesh and Blood. All we can do is keep learning.
As you build decks and play games, really pay attention to your role in each match and how it shifts over the game. If you are finding yourself wanting to be the control deck more often, you can change the way your deck is structured to accommodate that. You can add more disruption or defensive cards to help extend the game, or you can add cards that increase your inevitability to ensure you can be the control role against other decks that will struggle to play beatdown into you.
On the other hand, if you are finding your deck is forced into a beatdown role more often than it’s prepared for, consider changing cards to help you pressure and convert your hand better. It’s this understanding that has led me to include Scar for a Scar in so many decks I’ve played. Often these decks would prefer to be the control deck, but you need tools for matchups where you don’t have that luxury.
I hope this article helped you learn about this axis. And I hope it helps you keep learning as you continue to enjoy the game.
Thanks for reading,
Hammy

Michael Hamilton
I'm Michael Hamilton, but please call me Hammy! I'm Flesh and Blood's first World Champion, a US National Champion, and a 5-time Calling winner. I've spent years diving deep into the theory and mechanics of this game, and I'm still learning! I hope to share as much of that knowledge with you all as I can through my articles here at AGE.